Diving into the world of cinematography may seem challenging if you are on a budget. Behind-the-scenes videos of large productions often show cinematographers using very expensive equipment and a scroll through a film gear retailer’s website shows that professional items often come with a big price tag. However, with some creativity, you can light and capture your scenes on a shoestring budget. In this article, I’ll share a few low-cost lighting tools and techniques that I often use while shooting.
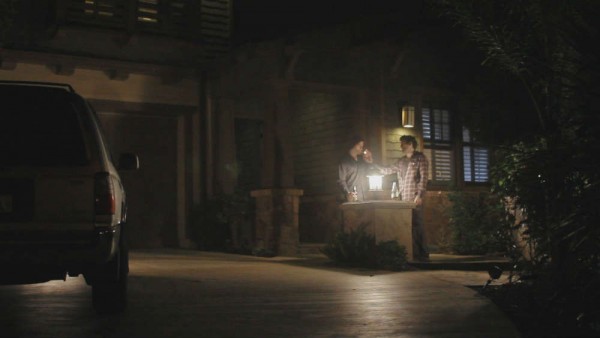
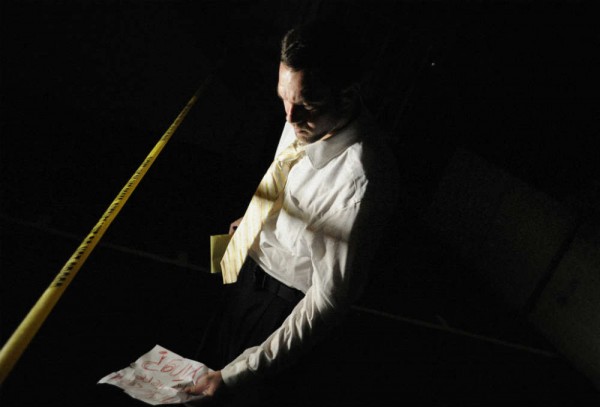
A scene shot using no-budget lighting gear. Keon Hedayati and Shayan Shivaei in Summerdale (dir. Peter Tran).
Shaping Existing Light
One of the best ways to minimize costs and also add naturalism to your work is to use light that already exists in your location. However, whether you find sunlight or artificial lighting, you may need to shape it to your needs.
For those with a budget, foldable reflectors called Flexfills are normally used to bounce light towards subjects. This is useful to turn a hard light source into a softer one, or to fill in unwanted shadows. But sometimes, you may want to create more shadow. For this, you can purchase flags, made of black fabric, and place them in front of light sources that need to be blocked or shaped.
However, a far cheaper material–posterboard–which combines both of these tools into one. Posterboard can be picked up at any store that sells art supplies. A piece with a white surface works great as a reflector. Just find the right angle to bounce incoming light towards your subject. Additionally, you can use it to block light. A board with one black side works best (if you can’t find one in stores, simply spray paint one side black). Positioning the black side of the board towards your talent will minimize light that would normally hit them from that side (whether reflected light or source light), creating more shadow.
I like to tape at least two pieces together to create a larger, foldable board- useful as either a large white bounce card or a large black solid. If you need two black sides, then you can fold it in half. Also, the board will stand up on flat surfaces when partially folded. And for a stronger bounce effect, tape some reflective material like aluminum foil to the board. Or, use different colored surfaces to experiment with the color of bounced light you are getting on your actor.
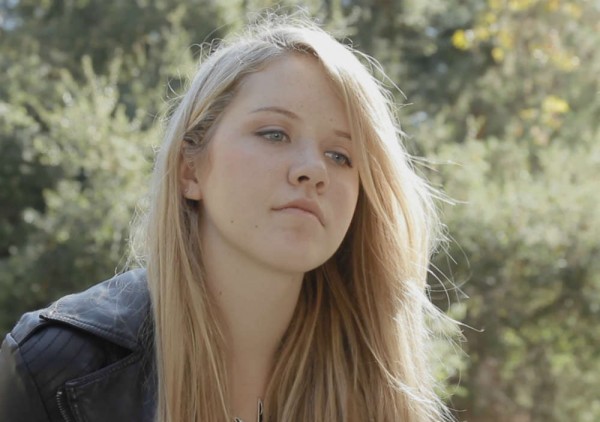
Bouncing sunlight with posterboard is very useful when shooting outdoors to fill in shadows on faces. We lit Haidyn Harvey with this technique in Millenials (dir. Louis Alexandre).
Adding Artificial Light
Oftentimes you will need to add some sort of lighting to your shot to get the look you want. Professional lighting kits, like Fresnel lamps, softboxes, or Kino Flos, give you may options for light quality and intensity. But for the frugal among us, there are many alternative ways to illuminate scenes.
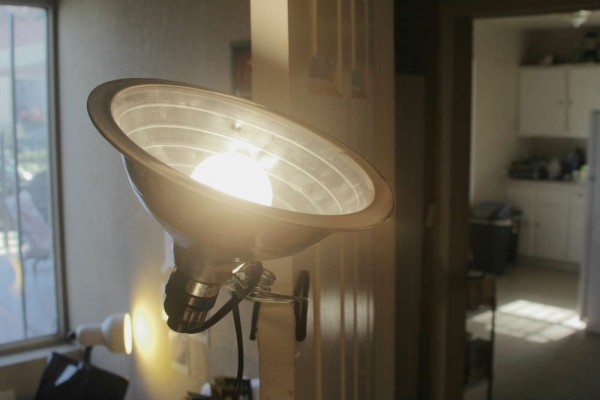
Clamp lights are cheap, portable, and very useful. You can choose from a variety of sizes and maximum wattages. These lights clip easily to chairs, tables, beams, or light stands. Also, you can swap out bulbs to get the color temperature or intensity you need. These lights work well for hard lighting talent, creating bounced lighting, or accent lighting.
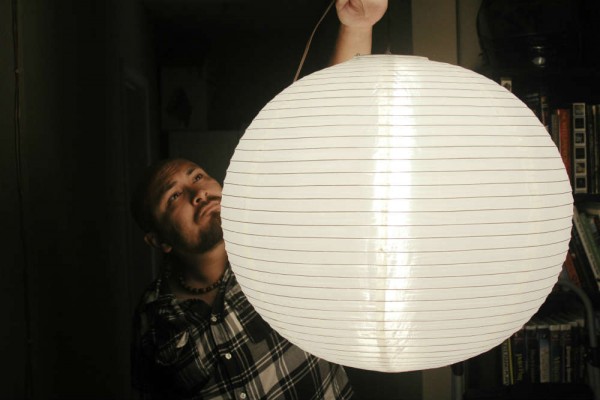
For soft lighting, china balls- which are lanterns made of paper or silk- are a great solution. Found online or in some stores, they range from around 12 to 30 inches in diameter. These lanterns are inexpensive even through film and video retailers. Simply hang a lightbulb connected to the provided socket inside of the china ball and you have a flattering, portable soft light. You can hang it near your talent, or attach it to a boom pole and hold it over a scene in which the actors are moving.
You can use a wide variety of lightbulbs in these lanterns. Just make sure to follow the safety instructions, because china balls are flammable. Smaller ones have a lower wattage limit, while larger ones can hold more powerful bulbs. Also, to control the light of the china ball more, flag off parts of it using the posterboard described above. I like using large china balls to fill in shadows, or medium and small ones as softer key lights.
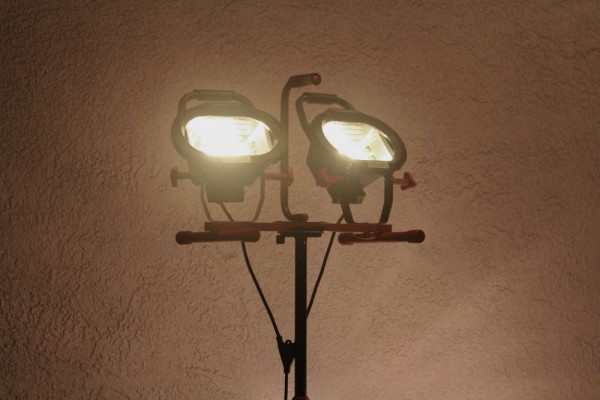
If you need more power, try shop lights. Often using halogen bulbs, these generally range from 500-1200 watts and may include stands. These are great substitutes for bright tungsten film lights if you need a strong source, or want a lot of wattage to either bounce or diffuse.
Halogen shop lights heat up very quickly, so use caution. Newer models sometimes use LED bulbs which run far cooler. However, LEDs cost more, and their color temperature may not reflect the color spectrum accurately. Test them to make sure they give the look you want. Shop lights have much more spill than a Fresnel lens light. But for the price and the power, they are a great tool.
Finally, every microbudget filmmaker should arm themselves with a variety of lightbulbs. You can use them with gear described above. Also, you can put them inside of existing light fixtures at your location, and therefore control how much light you get from the fixtures.
You can find bulbs in different wattages and color temperatures. Traditional Edison-style lightbulbs render the color spectrum accurately and work great with clamp lights and china balls. CFL bulbs don’t show the true color spectrum, but they draw less power than Edison bulbs which may sometimes be necessary. Also, CFLs can be found with a daylight color temperature, great for simulating sunlight or a television’s bluish glow. LED bulbs are also available, as well as party color bulbs for interesting effects.
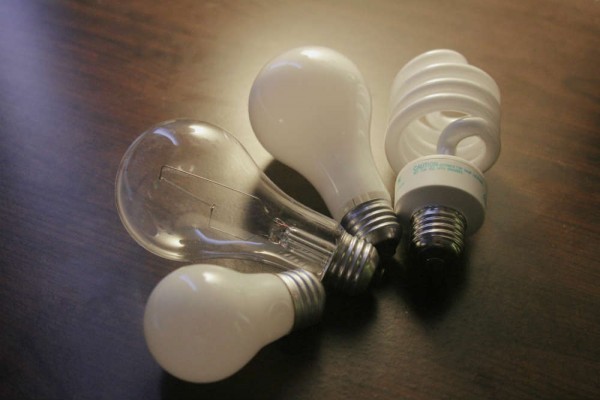
– Having a variety of lightbulbs can prove useful. Here are 3 “Edison-style” Tungsten color-temperature bulbs, and one CFL Compact Fluorescent, Daylight color-temperature bulb.
Closing Thoughts
Tools like these help you craft the look you want at any budget or skill level. They may have limitations, but so does every piece of equipment in existence. In the end, all that matters is your creativity and how you use the gear you have to bring your stories to life on screen!


2 Comments
im really confused about lighting. i know i look awful under fluorescent lighting. it washes me out and i look like a i have a green hue. however most studio lighting use these bulbs. the whole point i want studio lighting is to make my subject look better, wouldnt using daylight cfl bulbs completely counteract this?
Hi Laura,
If you’re still stuck with this issue, then I suggest balancing out/correcting whatever lights you have with some filters and test.
https://www.leefilters.com/lighting/technical-list.html
I’m not a cinematographer, but for my photography projects I shoot on analog film and this website has come in handy to help me understand what color correction I need to apply when using 1 or multiple light sources in the studio.
After some practice it becomes easy. If you’re using Digital medium then you can see the effects right away on the monitor/LCD screen, though post work will still need to be done in some instances.
Skin is hard to correct especially if you work with different skin types, but not impossible these days.
Good luck.
– Neil