 Sometimes when shooting indoors, you need to make day look like night. And believe it or not, there’s an art to blacking out windows.
Light is like water: it leaks in through the tiniest crack, and you need to appreciate that if you’re going to black out a window successfully. Here are my tips.
- Don’t do it. Shoot at night; it’s quicker and easier. It will also look much better because you can light the view outside for added depth in the background of frame.
- Ignored rule one? Well, at least do a split shoot so that you only shoot away from the windows during daylight, and shoot towards them after dark. If the windows aren’t actually in frame, your light seal doesn’t need to be 100%.
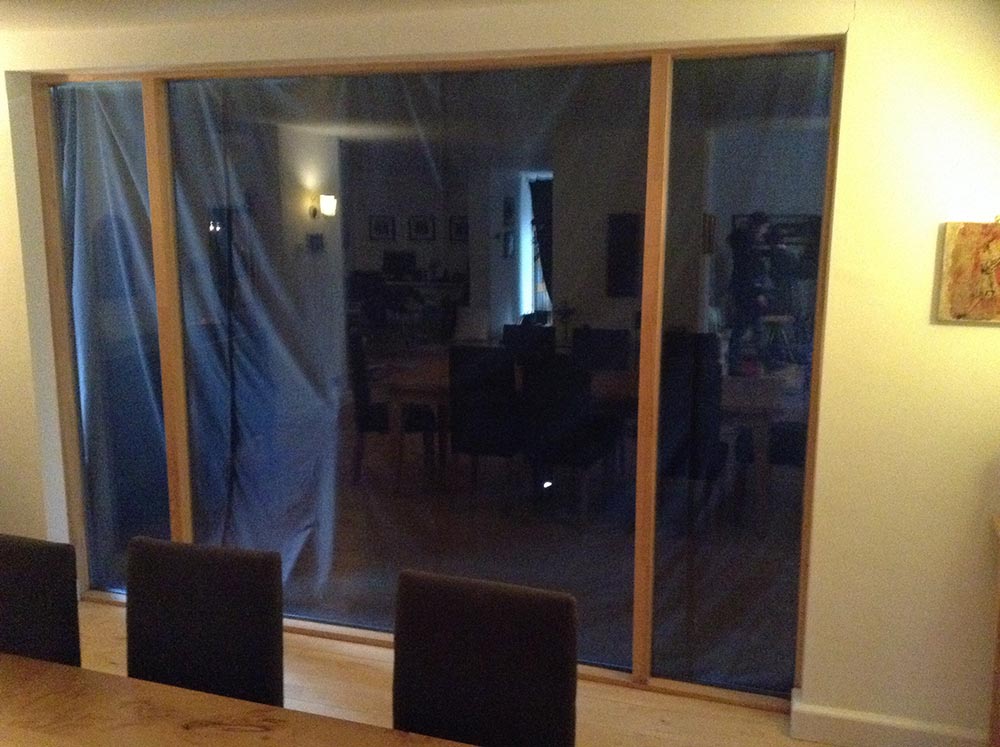
- Ignored rule two as well? Unquestionably the best way to black out a window is to gaffer tape black drapes or bin bags to the outside of the window frame. Don’t try to tape to the surrounding brickwork; it won’t hold. The gaffer tape needs to go in an unbroken line all the way around the edges, or light will leak in through the cracks.
- If you have large windows to black out, it may be tempting to rig drapes on stands. OK, fine, but you still need to gaffer tape all the edges. And make sure the stands are well sandbagged in case the wind gets up.
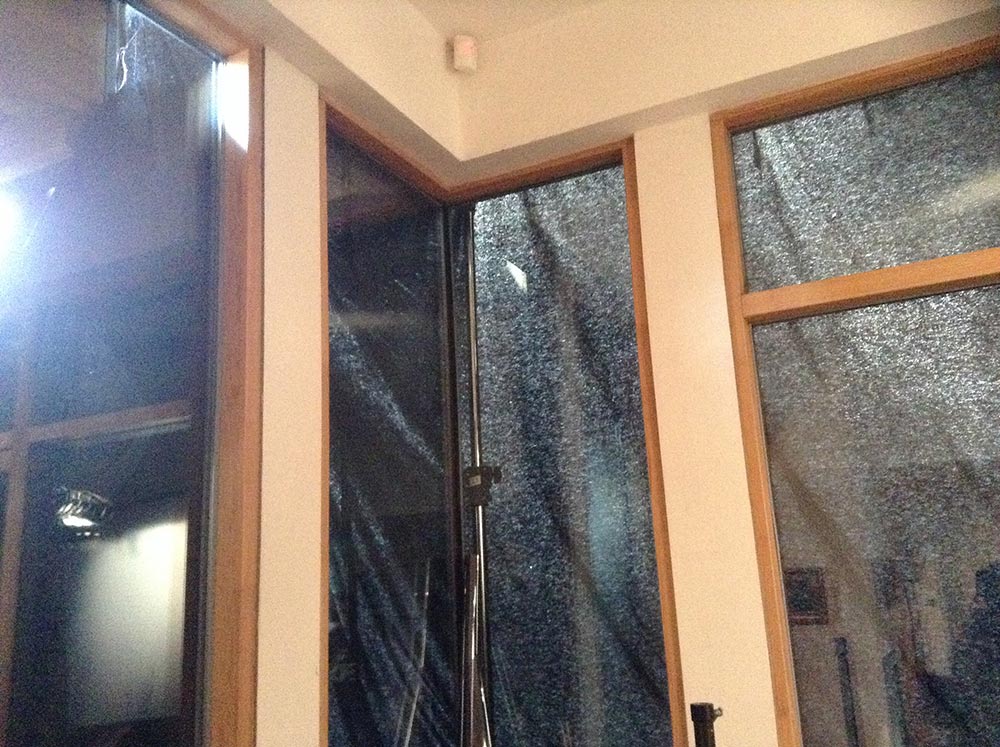
- Here’s an example where the lefthand side hasn’t been taped. As you can see, the daylight comes in and nicely cross-lights the drapes, showing up every wrinkle and utterly destroying the illusion of a dark sky. (Fortunately, in this instance the window wasn’t going to be in shot, and the amount of light leaking in wasn’t sufficient to contaminate the DP’s lighting design.)
- When you’re outside doing the blacking-out, it is impossible to judge the quality of your work. You need to go inside and see what it looks like. You’ll probably get a nasty shock.
- Beware that some things that seem opaque from the outside – bin bags or fabric – actually let light through. Hold them up to the light to check this before you waste time gaffering them up. These drapes looked completely opaque from outside…
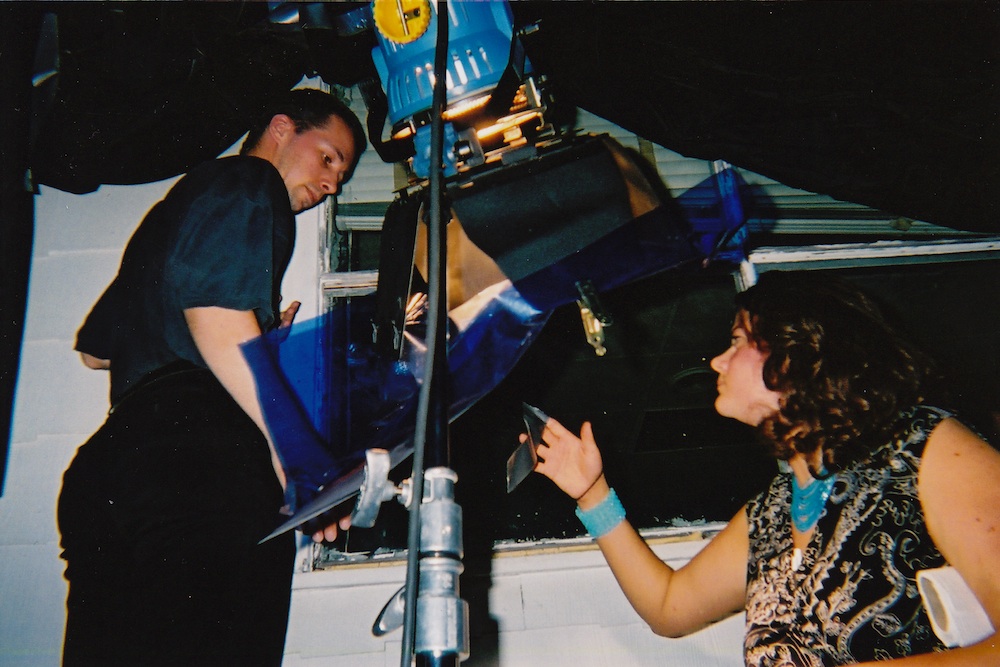
- Sometimes the DP will want to put a lamp outside to simulate moonlight, and this will need to be tented around. This is extremely difficult and can waste a lot of time. The lamp will spill light onto the drapes, showing them up for what they are. Black wrap the lamphead as much as you can (without covering any vents) and don’t use a tarpaulin as black-out material because it will reflect the light.
- Finally, remember to put any stands holding up the drapes BEHIND the drapes, so they’re hidden from camera. (I’ve seen this mistake made, and made it myself, several times – see picture above!
UPDATE: Karl Poyzer has this great tip: “A much easier way to black out windows not in shot or behind a curtain is to spray them with water and roll tin foil over them, stays stuck there indefinitely, blocks out 100% of the light, is cheap and won’t fall down.” Thanks Karl!
This article re-printed with permission from NeilOseman.com.
Click Here to read the original article.


